Conquer Authentication with Ktor: Part 1 – Getting Started
This post is part of a series. Today, we’ll create a project from scratch, defining API endpoints to build upon. I’ll demonstrate how to use Ktor to develop a web server, which dependencies to install, and how to structure the project for easy maintenance. There’s a lot to cover, so let’s get started!
Table of Contents
- Choosing your IDE
- Getting started with Ktor
- Reviewing the Project Structure
- Starting the Server
- Summary
Choosing your IDE
Throughout this tutorial, I’ll be using IntelliJ IDEA, as I believe it’s best suited for the job. You can download a free Community Edition from their website. Alternatively, you may choose to use Eclipse or Visual Studio Code. While these options require additional setup, feel free to use them if you prefer them over IntelliJ IDEA.
Getting started with Ktor
IntelliJ provides a template for creating a Ktor project.
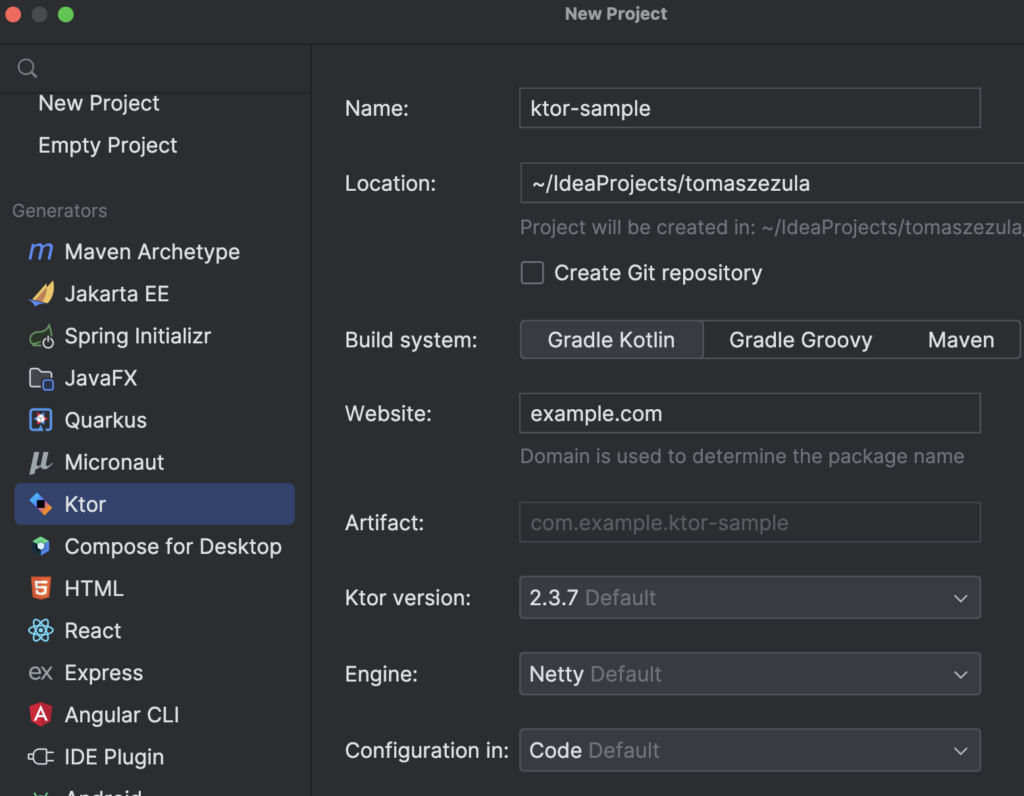
Alternatively, you can use an online generator at start.ktor.io.
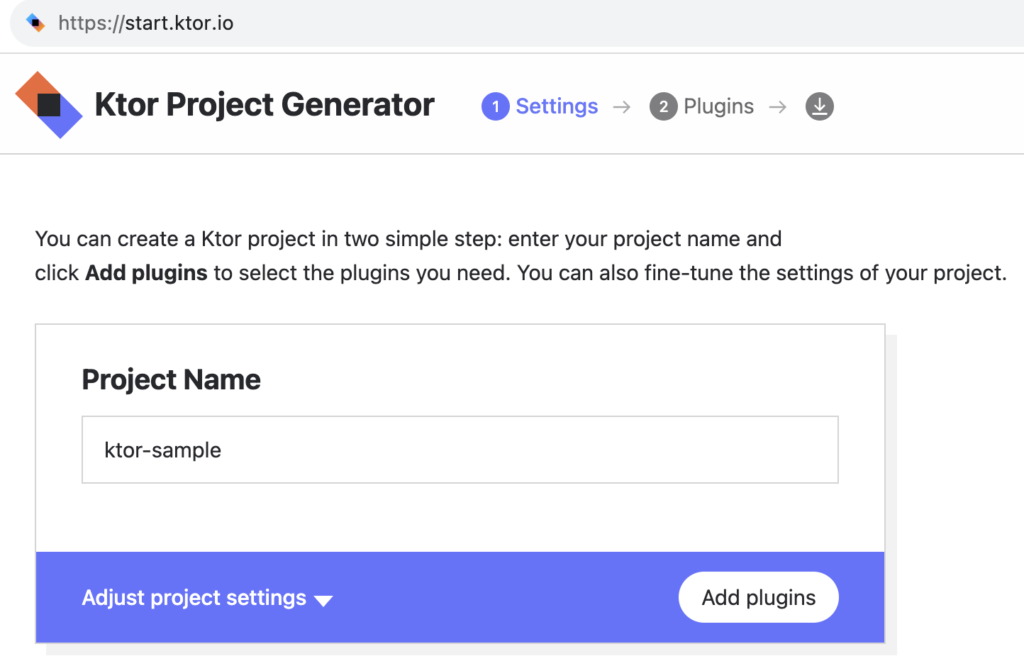
Go ahead and name your project whatever you like. Accept the default settings and before you finish, add Authentication plugin. This should add the following dependency to your build.gradle.kts
implementation("io.ktor:ktor-server-auth-jvm")Please note, when using the IDE or the online builder you’ll be presented with a bunch of specialised Authentication plugins: Authentication Basic, Digest etc. You don’t want any of these separate plugins. For the purpose of this tutorial choose the one that’s simply called Authenticaton. It contains all you need to successfully complete this guide.
These are the dependencies you should ultimately end up with:
    dependencies {
        implementation("io.ktor:ktor-server-core-jvm")
        implementation("io.ktor:ktor-server-auth-jvm")
        implementation("io.ktor:ktor-server-netty-jvm")
        implementation("ch.qos.logback:logback-classic:$logback_version")
        testImplementation("io.ktor:ktor-server-test-host:$ktor_version")
        testImplementation("org.jetbrains.kotlin:kotlin-test:$kotlin_version")
    }
Reviewing the Project Structure
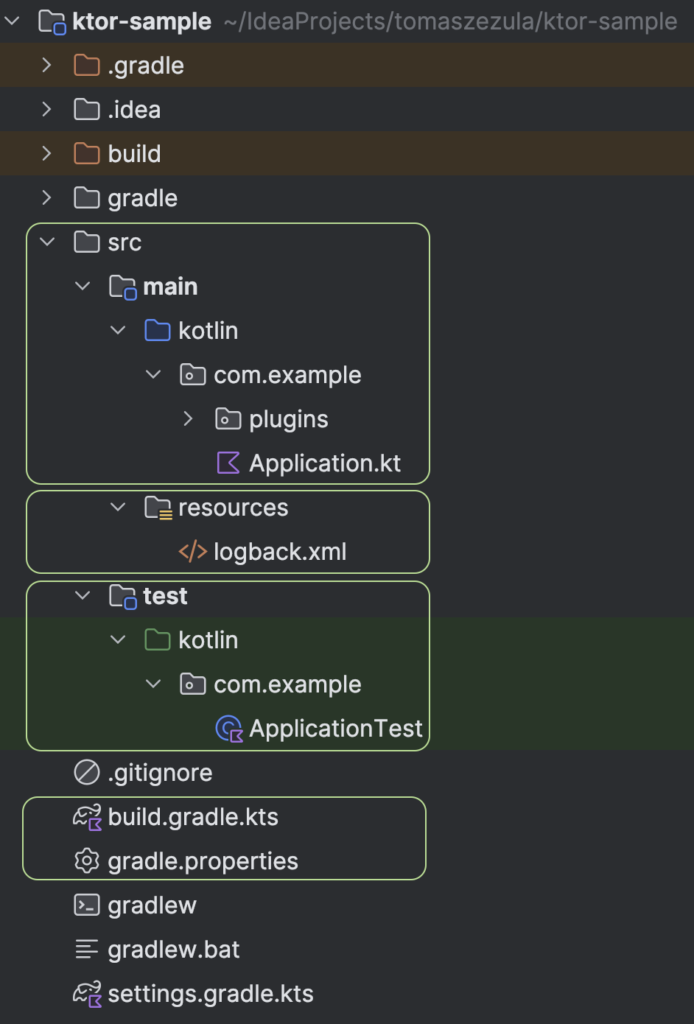
Ktor is both intuitive to use and easy to learn quickly. Before we delve into the specifics, it’s beneficial to grasp the basics of the project structure and configuration setup. If you’ve previously developed projects using Gradle or Maven with Java or Kotlin, you’ll find instantly feel home with Ktor.
Let’s go through the highlighted parts, top to bottom:
- src/main/kotlin: Your application code lives here. There’s the main Application class that starts your web server.
- src/main/resources: Here is where you keep all your app configuration.
- build.gradle.kts: This is the central file where you define your project’s dependencies and apply the necessary plugins.
- gradle.propeties: This is a place where to keep versions of your dependencies. It helps to keep your build configuration tidy.
Starting the Server
Before we conclude the introductory session, let’s savor the sense of achievement by starting the server. You’ll be doing this frequently enough throughout this tutorial.
For those of you who prefer the command line, you can kickstart the process by running this simple script. As amusing as it may sound, it efficiently packages all of the dependencies and fires up the web server.
./gradlew runFatJarAlternatively, you just press the Play button in your IDE
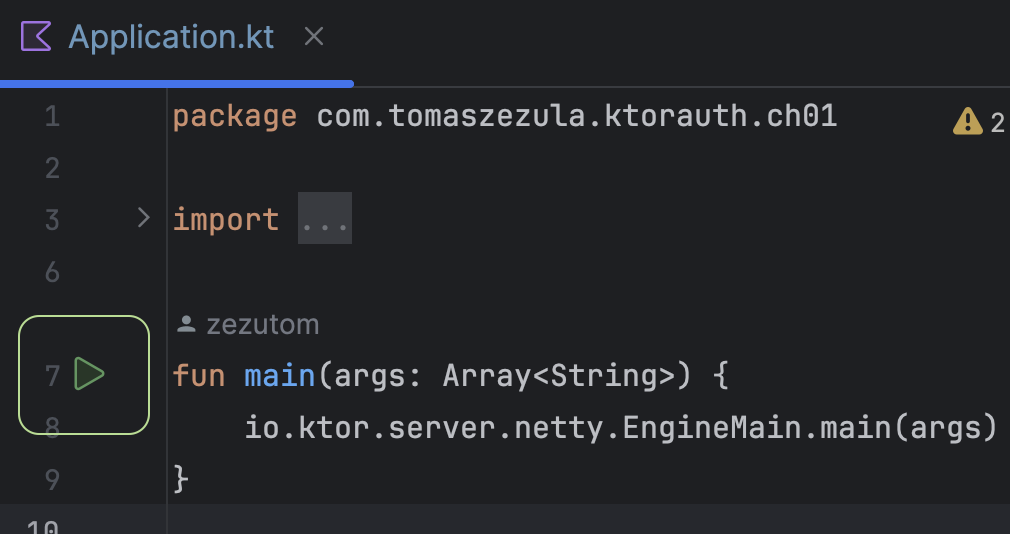
You should be rewarded with an output similar to the one below.

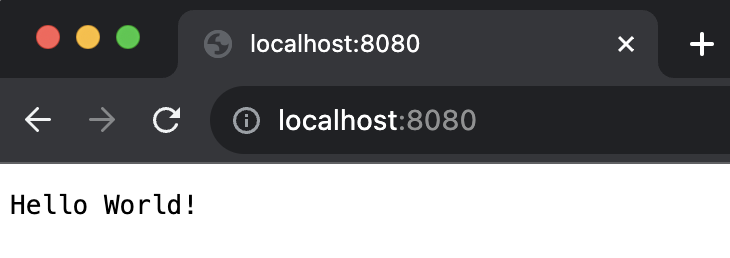
Finally, visit http://localhost:8080 and be greeted with the obligatory “Hello, world!” 🙂
Summary
Thank you for reading to the end – well done! Today, we’ve done more than just outline a project. We’ve established a strong foundation that will take you far.
Feel free to make the project your own. Assign it a unique name and rearrange the packages to better suit your naming conventions.
Stay tuned for the next part in this blog series, where we’ll design a straightforward API and secure it with a simple login screen.

